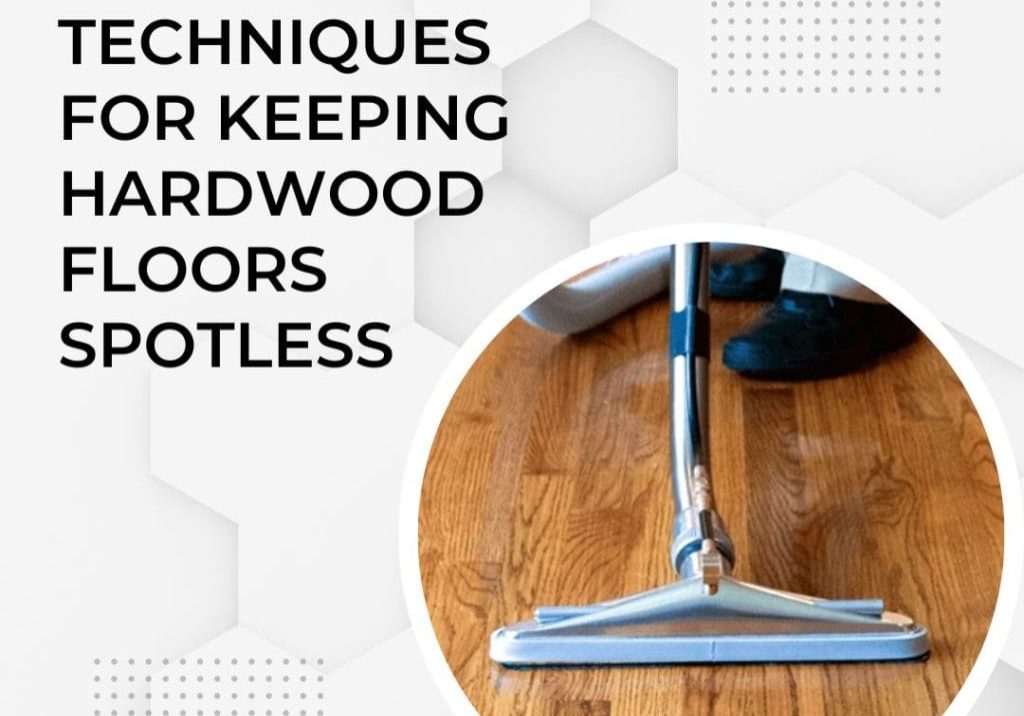
Welcome to our comprehensive guide on “How To Easily Fix Dents in Hardwood Floor”. We understand immaculate hardwood floors’ aesthetic and functional importance for your business. This guide aims to equip small to medium business owners with the practical knowledge to repair a dent in the wood floor, saving both time and expense by avoiding professional services when they aren’t necessary.
Understanding Hardwood Floor Damage
Let’s dive right in and transform those unpleasant dents in your hardwood floor into mere traces of the past. We’ll first begin by identifying various types of damages.
Types of Damage: Dents vs. Scratches
Understanding the type of damage on your hardwood floor is crucial to determining the best repair method.
Dents: These are depressions caused by impact damage. You may notice a dent in a wood floor after dropping a heavy object or moving furniture without adequate protection. They are characterized by a hollow or indentation that disrupts the smooth surface of the hardwood.
Scratches: These are surface-level damages. They can occur from daily wear and tear, pet claws, or dragging unlifted furniture across the floor. A scratch is a line or mark on the surface of the hardwood, which often appears lighter than the surrounding wood.
Common Causes of Dents in Hardwood Floors
Various factors can cause a dent in a wood floor, each associated with the daily operations of a business.
Heavy Furniture and Equipment: One of the most frequent culprits behind hardwood floor dents is the movement and positioning of heavy furniture and equipment. Without proper precautions, the weight of these objects can cause noticeable depressions in the wood.
Impacts and Accidents: It’s easy for accidents to happen in a busy workplace. Whether it’s dropping a tool or bumping into furniture, these impacts can result in dents on your hardwood floors.
Moisture Damage: Excessive moisture can cause wood to swell and expand, leading to dents as the wood adjusts to the changes.
Assessing the Damage
Before diving into repairing a dent in your wood floor, it’s crucial to thoroughly assess the extent of the damage. This step will determine the most appropriate repair method and ensure a successful restoration of your hardwood floor’s aesthetic appeal.
Guide On How to Assess the Severity of Dents
Evaluating the severity of a dent in a wood floor involves careful observation. Look at the dent closely to gauge its depth and width – is it deep and wide, affecting a large surface area, or shallow and narrow? Deep, large dents often require more intensive repair methods, while shallow, smaller ones can be fixed with simpler solutions. Understanding the dent’s severity is key to an effective hardwood floor dent repair.
When to Consider Professional Repair
Professional repair should be considered when the dent is excessively deep, large, or located in a highly visible area. Also, if your hardwood floor exhibits significant structural damage or the DIY repair methods have proven unsuccessful, professional intervention becomes necessary.
DIY Repair Techniques
Now that we’ve understood the nature of hardwood floor damage and assessed the severity of dents. Let’s dive into some practical DIY repair techniques. These methods are designed to help you easily fix the dents in your wood floor, restoring its original beauty and shine.
Iron and Steam Method
The Iron and Steam Method is a popular DIY hardwood floor dent repair technique. It involves dampening a cloth with water, placing it over the dent, and then applying a hot iron to the cloth. The heat and steam from the iron cause the wood fibers to swell, effectively reducing the dent.
Abrasion Technique
The Abrasion Technique can be very effective for minor dents. This method involves gently sanding the dent with fine-grit sandpaper until it blends seamlessly with the rest of the floor. Once the dent is sufficiently reduced, you can reseal and polish the area to restore the original shine of your hardwood floor.
Wood Filler Method
The Wood Filler Method is ideal for deeper dents. This method involves applying a wood filler into the dent, smoothing it out to match the floor’s level, and then letting it dry. Once dried, you can sand and refinish the area to blend seamlessly with the rest of the floor.
Matching Wood Finishes
After successfully repairing a dent in wood floor using one of the above methods, the final step is to ensure the repaired area blends seamlessly with the rest of your hardwood floor. This is achieved by carefully matching the wood finishes, a process we’ll explore in the following section.
Tips on Choosing the Right Wood Filler Color
Choosing the right color of wood filler is crucial for a seamless hardwood floor dent repair. Here are a few tips to guide you.
Examine the Wood Color: Analyze your floor’s color in natural light to get an accurate shade.
Test Before Use: Always test the filler color on a hidden portion of your floor to ensure it matches.
Consider Wood Age: Older floors may have darkened over time; choose a filler that matches the current shade, not the original one.
Mix Colors: If you can’t find the perfect match, try blending different shades of filler.
Seal After Application: Apply a sealant after repair. This can help blend the filler and make it less noticeable.
Techniques for Blending the Repair Into the Existing Floor
Blending the repair into the existing floor involves careful sanding, staining, and sealing. Start lightly sanding the repaired area to ensure it’s flush with the rest of the floor. Then, apply a stain that closely matches the existing hardwood floor color. Finally, seal the area with a protective finish to make the repair less noticeable and blend seamlessly with the surrounding floor.
Advanced Techniques
Let’s delve into some advanced techniques that utilize heat and moisture to effectively fix dent in wood floors. These advanced methods can provide more lasting solutions, especially for deeper and more stubborn dents.
How to Use Heat and Moisture to Raise Dents
Heat and moisture can be used to raise dents by applying a damp cloth over the dent and using a hot iron to steam the area. The heat causes the wood fibers to swell, effectively raising the dented portion. This method is ideal for smaller, shallow dents and can restore the original form of your hardwood floor.
Detailed Instructions and Safety Tips
Always ensure your iron is set to a medium setting to avoid burning the wood. Keep the iron moving across the damp cloth to evenly distribute the heat and steam. Be sure to immediately wipe away any excess water to prevent moisture damage. Always wear protective gloves when applying heat to avoid burns.
Preventive Measures
Preventing dents in wood floors is equally important as knowing how to repair them. By taking proactive measures, you can significantly extend the longevity of your hardwood floor and maintain its pristine condition. In this section, we will discuss effective strategies to prevent unnecessary damage to your wood flooring.
Strategies to Prevent Future Dents and Scratches
Regularly sweep or vacuum your floors to eliminate debris that can cause scratches. Consider using protective padding under heavy furniture and avoid dragging items across the floor. Additionally, maintain appropriate humidity levels to prevent the wood from warping or shrinking, which can lead to dents. Lastly, encourage occupants to remove high-heeled shoes or any footwear that may damage the floor, thus preserving your hardwood’s life and luster.
Protective Measures for Furniture and Heavy Objects
Furniture and heavy objects can easily cause dents in hardwood floors. To prevent this, use furniture pads or coasters under the legs of chairs, tables, and other heavy objects. This not only disperses the weight, thereby reducing the risk of dents but also prevents scratches when items are moved. Rubber mats or area rugs can also be used in high-traffic zones to protect your floors from excessive wear and tear.
When to Call a Professional
While dent in wood floor repair can often be tackled by business owners themselves, there are certain situations where the expertise of a professional is indispensable. Here, we will discuss the signs that indicate it’s time to call in a hardwood floor professional.
Identifying Situations that Require Professional Repair
Deep gouges, extensive damage, or discoloration that goes beyond the surface layer are often challenging to rectify DIY-style. If your hardwood floor shows signs of structural damage, such as buckling, warping, or loosened planks, it’s best to seek professional help. An error occurred during generation. Please try again or contact support if it continues.
Importance of Professional Finishing for Extensive Damage
Professional finishing is crucial for extensive damage as it ensures the floor’s structural integrity and aesthetics are restored to their original state. Professionals have the expertise to seamlessly match the repair with the existing floor, maintaining a uniform look. Moreover, they use commercial-grade sealants and finishes that provide longer-lasting protection, enhancing the durability of your hardwood floor.
Conclusion
Dealing with a dent in the wood floor is a manageable task. With a clear understanding of basic and advanced techniques, preventive measures, and the knowledge of when to call in professionals, you can maintain the beauty and integrity of your hardwood floors. Remember, a well-maintained hardwood floor enhances the overall aesthetics of your business premises, reflecting positively on your business.


